A straight abutment is a crucial component in dental implant procedures, serving as the connector between the dental implant and the prosthetic crown. As a leading supplier of straight abutments, I understand the importance of proper installation to ensure the long - term success of dental restorations. In this blog, I will guide you through the step - by - step process of installing a straight abutment.
Pre - installation Preparation
Before starting the installation process, it is essential to conduct a thorough examination of the patient's oral cavity. This includes evaluating the implant stability, bone quality, and soft tissue condition. Radiographic imaging, such as periapical or panoramic X - rays, can provide valuable information about the implant position and surrounding bone structure.
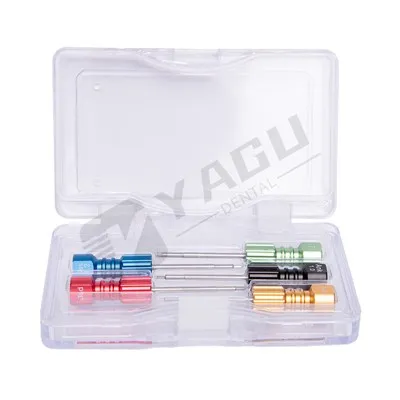
Ensure that all the necessary instruments are sterilized and ready for use. These typically include a torque wrench, abutment screwdriver, and a surgical microscope for enhanced visualization. Select the appropriate straight abutment based on the implant system, the patient's occlusal requirements, and the anatomical characteristics of the implant site.
Step 1: Accessing the Implant
The first step in installing a straight abutment is to access the dental implant. This is usually done by making a small incision in the gum tissue overlying the implant. Use a scalpel or a tissue punch to create an opening, being careful not to damage the surrounding soft tissues. Once the implant is exposed, clean the implant surface to remove any debris or tissue that may have accumulated.
Step 2: Removing the Healing Abutment
If a healing abutment was previously placed on the implant, it needs to be removed. Use the appropriate abutment removal tool to unscrew the healing abutment. This should be done gently to avoid any damage to the implant or the surrounding tissues. After removing the healing abutment, inspect the implant interface for any signs of corrosion or damage.
Step 3: Selecting the Correct Abutment
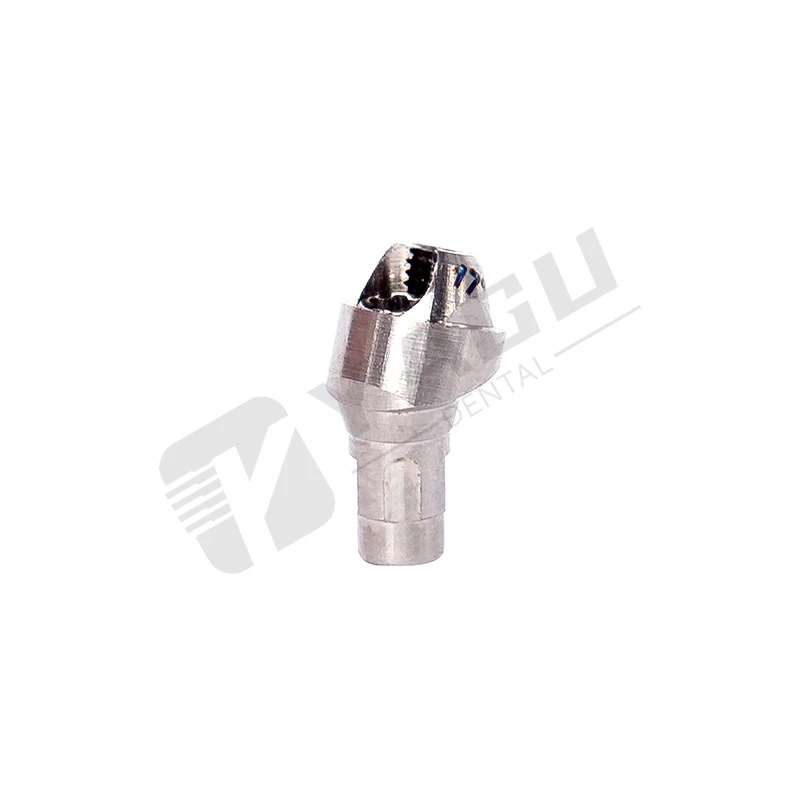
As a straight abutment supplier, I offer a wide range of abutments to meet different clinical needs. When selecting the straight abutment, consider factors such as the implant diameter, the height of the abutment, and the angulation requirements. The abutment should fit precisely onto the implant, with a proper connection to ensure stability and optimal load transfer. You can also explore other types of abutments like Osstem Angled Abutment, Angled Abutment Straumann, and Multi Unit Abutment for more complex cases.
Step 4: Inserting the Straight Abutment
Carefully place the selected straight abutment onto the implant. Align the abutment with the implant interface and ensure that it seats properly. Use a torque wrench to tighten the abutment screw to the manufacturer's recommended torque value. Over - tightening or under - tightening the screw can lead to complications such as screw loosening or abutment failure.
Step 5: Verifying the Abutment Position
After tightening the abutment screw, verify the position of the straight abutment. Check the height and the angulation of the abutment to ensure that it is in the correct position for the future prosthetic restoration. Use a surgical microscope or a digital scanner to confirm the accuracy of the abutment placement.
Step 6: Closing the Incision
Once the straight abutment is correctly installed and its position is verified, close the incision in the gum tissue. Use sutures to approximate the edges of the wound. The sutures should be placed carefully to ensure proper wound healing and to minimize the risk of infection.
Post - installation Care
After the installation of the straight abutment, provide the patient with detailed post - operative instructions. This includes advice on oral hygiene, diet, and pain management. Instruct the patient to avoid excessive chewing on the treated side and to keep the surgical site clean. Schedule follow - up appointments to monitor the healing process and to check the stability of the abutment.
Troubleshooting
During the installation process, several issues may arise. If the abutment does not fit properly onto the implant, check for any debris or damage at the implant interface. If the screw cannot be tightened to the recommended torque, it may indicate a problem with the screw or the implant. In such cases, consult the implant manufacturer's technical support or seek the advice of an experienced colleague.

Conclusion
Installing a straight abutment is a precise and critical procedure in dental implantology. By following the steps outlined in this blog, you can ensure a successful installation and improve the long - term prognosis of the dental restoration. As a reliable straight abutment supplier, I am committed to providing high - quality products and excellent customer service. If you are interested in purchasing straight abutments or have any questions about the installation process, I encourage you to contact me for further information and to discuss your procurement needs. I am always ready to assist you in finding the best solutions for your dental implant cases.
References
- Misch CE. Contemporary Implant Dentistry. Mosby; 2008.
- Carlsson GE, Lang NP, Meijering JH. Clinical Oral Implants Research. Wiley - Blackwell; 2016.
- Brånemark PI, Zarb GA, Albrektsson T. Tissue - Integrated Prostheses: Osseointegration in Clinical Dentistry. Quintessence Publishing; 1985.